Tutoriels Backend
Create a complete web application with Angular
We are going to create a complete web application.
We will be using the Angular Javascript Framework version 16.2.4

What are we going to do?
The application is accessible at the following address
The source code is available on github
How to do it?
The summary of what we are going to do
- Before You Begin
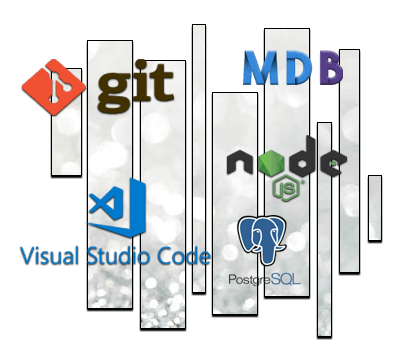
We will talk about the project and its architecture - Retrieving the source code
Everything we will use to create our application - Execution of the Front End part
Using Angular CLI - Execution of the Back End part
Install and create the APIs
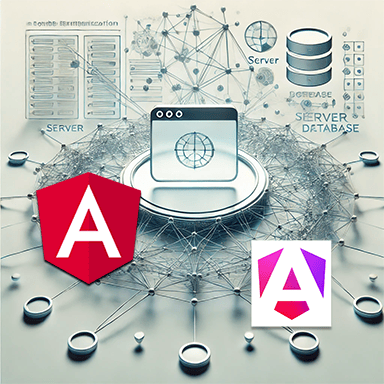
Architecture
This project has two parts
- The Front End Part
This part represents the graphical part of the application, the one that the user sees in his browser - The Back End Part
This part allows you to manage data.
These two parts will allow us to put together a complete project.
- Front End
This part uses the following elements
The Angular Javascript Framework
The Bootstrap CSS Framework - Back End
This part allows data to be processed.
The database used is PostgreSQL.
It allows us to create a RESTFull API.
Git
For this we will use the following git command
git clone https://github.com/ganatan/angular-app.gitFront End Execution
We will use a code editor.
Our choice is Visual Studio Code.
You need to open the project.
Then we will perform the following steps
- Installing dependencies
- Running the program in development mode
- Running Unit Tests
- Compiling the project in SSR mode
The commands to use are as follows
# Installation des dépendances
npm install

# Développement
npm run start
http://localhost:4200/

# Tests du code source
npm run lint

# Tests unitaires
npm run test

# AOT Compilation
npm run build

# SSR Compilation
npm run build:ssr
npm run serve:ssr
http://localhost:4000/
How the Front End Works
This application works using the API principle.
Access to the API is configurable.
This project offers 2 types of API
- An API based on local JSON files
This API allows the project to run immediately without any other software - A local API based on the Backend part of this project
To make it work you need to launch the Back end part detailed later in this tutorial
It is of type CRUD (create,read,update,delete)
By default the project uses the JSON API.
The choice can be made via the environment files.
import { Injectable } from '@angular/core';
import { Config } from './config';

@Injectable()
export class ConfigService {

  public config: Config = new Config();

  constructor() {

    const api = false;
    const url = './assets/params/json/';

    /* const api = true;
    const url = 'http://localhost:5200/'; */

    this.config.api = api;
    this.config.url = url;

  }

}
Back end execution
We will make the API available in this repository work.
The API is located in the project's api directory.
The steps to follow are as follows:
- Go to the source code directory
- Install dependencies
- Create the database
This API uses postgreSQL.
You need to indicate your login and password information in the config.json file - Run the API
The commands to execute are as follows.
# Aller dans le répertoire de l'api
cd api

# Installer les dépendances
npm run install

# Créer la base de données
npm run app

# Exécuter l'api
npm run start

# Vérifier l'api avec les commandes
http://localhost:5200/movies?formatted
How the Back End Works
This API has scripts to create the database and its elements.
The operations that can be performed are as follows:
- Creating the database
- Creation of domains
- Creating tables
- Importing data from json files
- Exporting data to json files
You obviously need to have installed PostgreSQL on your workstation.
The API must be able to connect to PostgreSQL. For this, you must indicate the information of your DBMS.
- Login
- Password
By default the postgreSQL login is postgres
This information can be modified in the config.json file
In this repository the information is
- login: postgres
- password : your_password
You just need to replace them with your own credentials.
{
  "dev": {
    "application": "ganatan-backend",
    "databaseName": "ganatanbackend",
    "url": "http://localhost:5200/",
    "login":"postgres",
    "password":"your_password",
    "port": 5200
  },
  "prod": {
    "application": "ganatanbackend",
    "databaseName": "ganatanbackend",
    "url": "https://www.yourapi.com/",
    "login":"postgres",
    "password":"your_password",
    "port": 5200
  }
}
How to create a From scratch application?
Create your ganatan account
Download your complete guides for free
Démarrez avec angular CLI 
Gérez le routing 
Appliquez le Lazy loading 
Intégrez Bootstrap 
Utilisez Python avec Angular 
Utilisez Django avec Angular 
Utilisez Flask avec Angular 


